


About
Popular Posts
-
Great and modern furniture and accessories all from The Foundary. I’ll have the light wood console. All of them are simply amazing. Woo...
-
Photos by Thomas Whiteside for Elle Magazine Last week while reviewing Elle magazine, I noticed a new fashion trend. And I’m not talking ab...
-
2014 is coming this way pretty soon (just five weeks from now) and I'm just starting to prepare for this upcoming year. Since 2013 was a...
-
Having 3 little kids living under the same roof can sometimes be a daily challenge when it comes to organization. I'm that kind of perso...
-
When we moved to our new home, the fireplace was one of the areas that I wanted to "stand out". Being so close to the entryway and...
-
Say it with love... but this time around, love for nature. If you've been reading my blog for some time now, you should know about my ap...
-
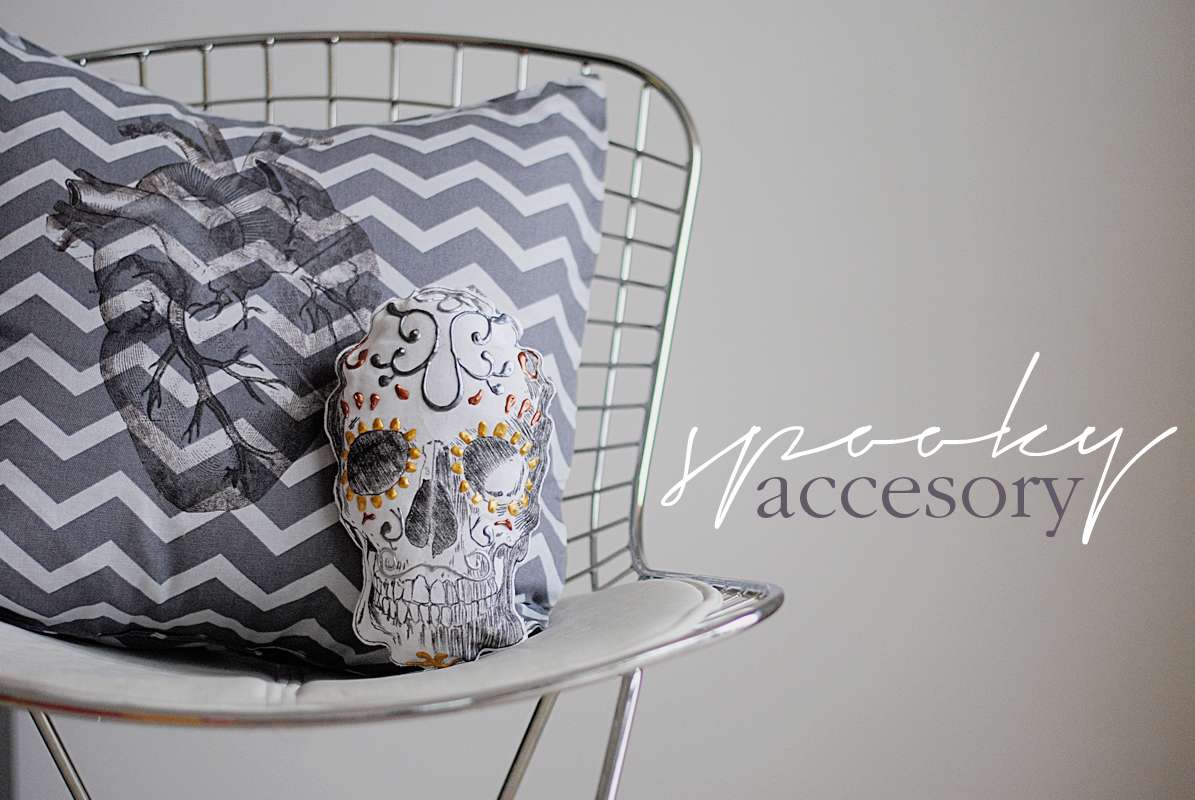
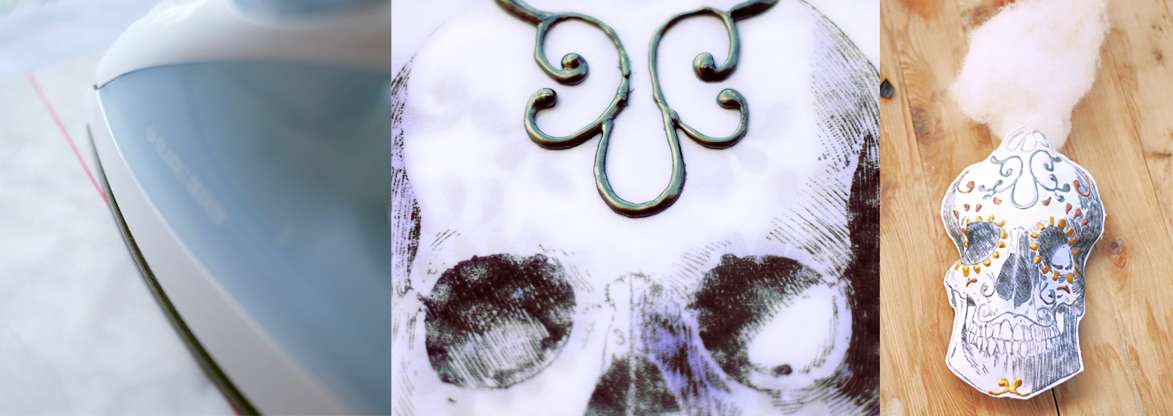
Being a Pinterest-enthusiast as I am, there is not a day when I have to remember myself that I need to take some time to make just one craft...
-
To start my design proposal I used the app Paper by 53 on my iPad. An easy way to sketch your ideas. At times approaching a blank space to ...
-
Some of the items used for this collage, including the deer head, are an excellent idea for gifts for Father's day. I have to say that ...
-
I must be turning into some sort of succulent hoarder, so much that I needed to create this wall pocket planters in order to keep up with ...
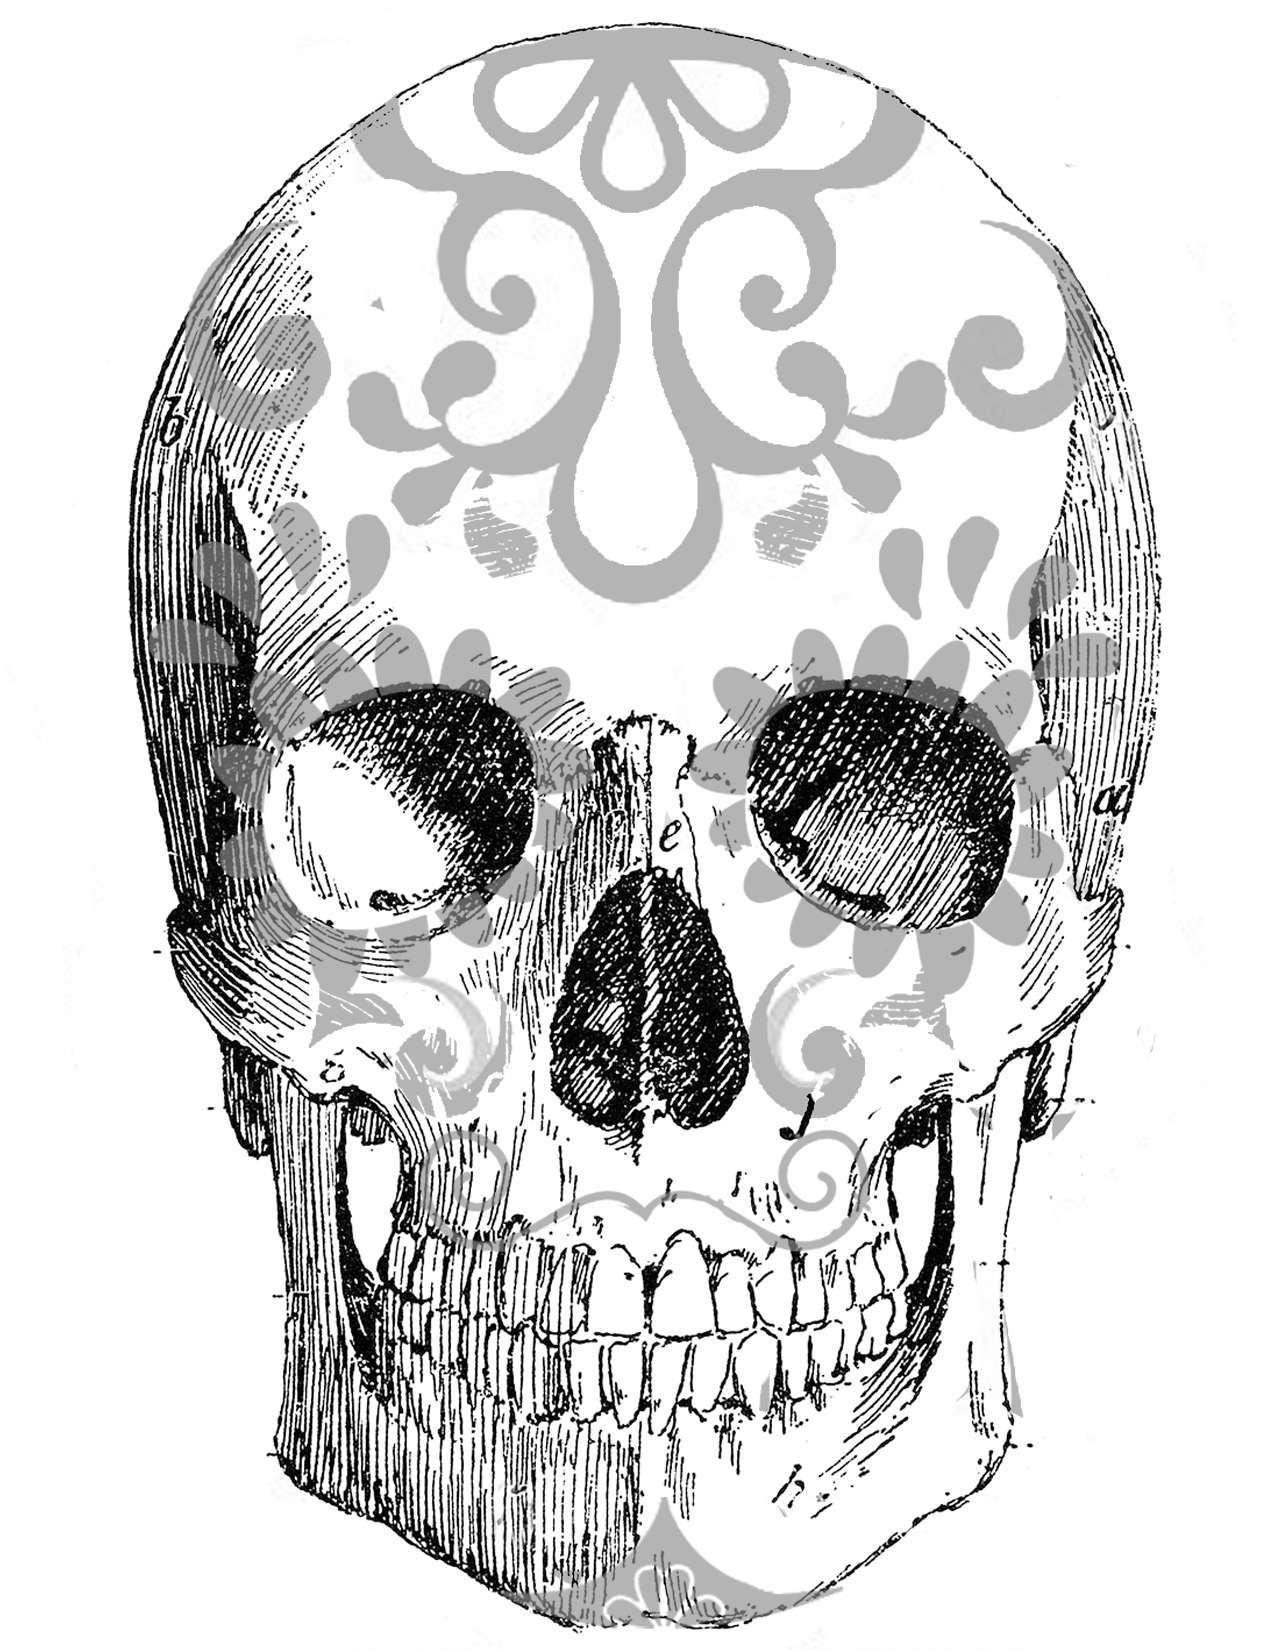
The drawing looks classy in a way! Good job!
ReplyDelete